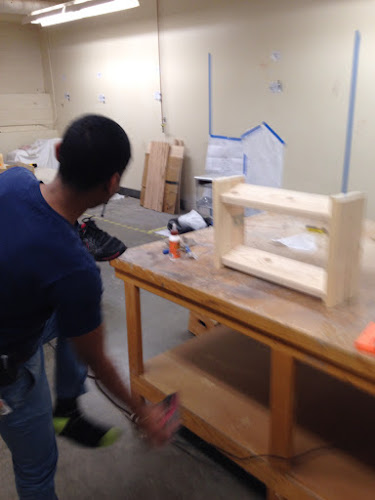
This is about how I helped my friend Robbie make a shoe rack.
I am working on another project, but when my friend Robbie came by I showed him some scrap wood and asked him what he'd like to make. He thought it over, got the "creative juices flowing" as he put it, and decided on a shoe rack. First we took a 2X6 and cut it in half to make the shelves.
Then we made the sides by screwing two 2X4's together. We cut a scrap 2X4 into three pieces to give us the length and cut 2 inches off a fourth piece.
Then we laid out the pieces to give us an idea of what it would look like.
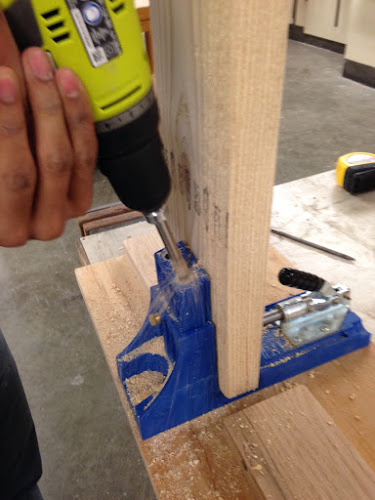
Then we started making some pocket holes with our Kreg Jig K4. Robbie has never used it before but was amazed at how easy it was to use.
Robbie was so excited with his product he quickly took off his shoes and tried it out!
Nice job Robbie! Now all we have to do is stain it and maybe clear coat it. Stay tuned...


No comments:
Post a Comment